How to set up online check-in for your property: complete step-by-step guide
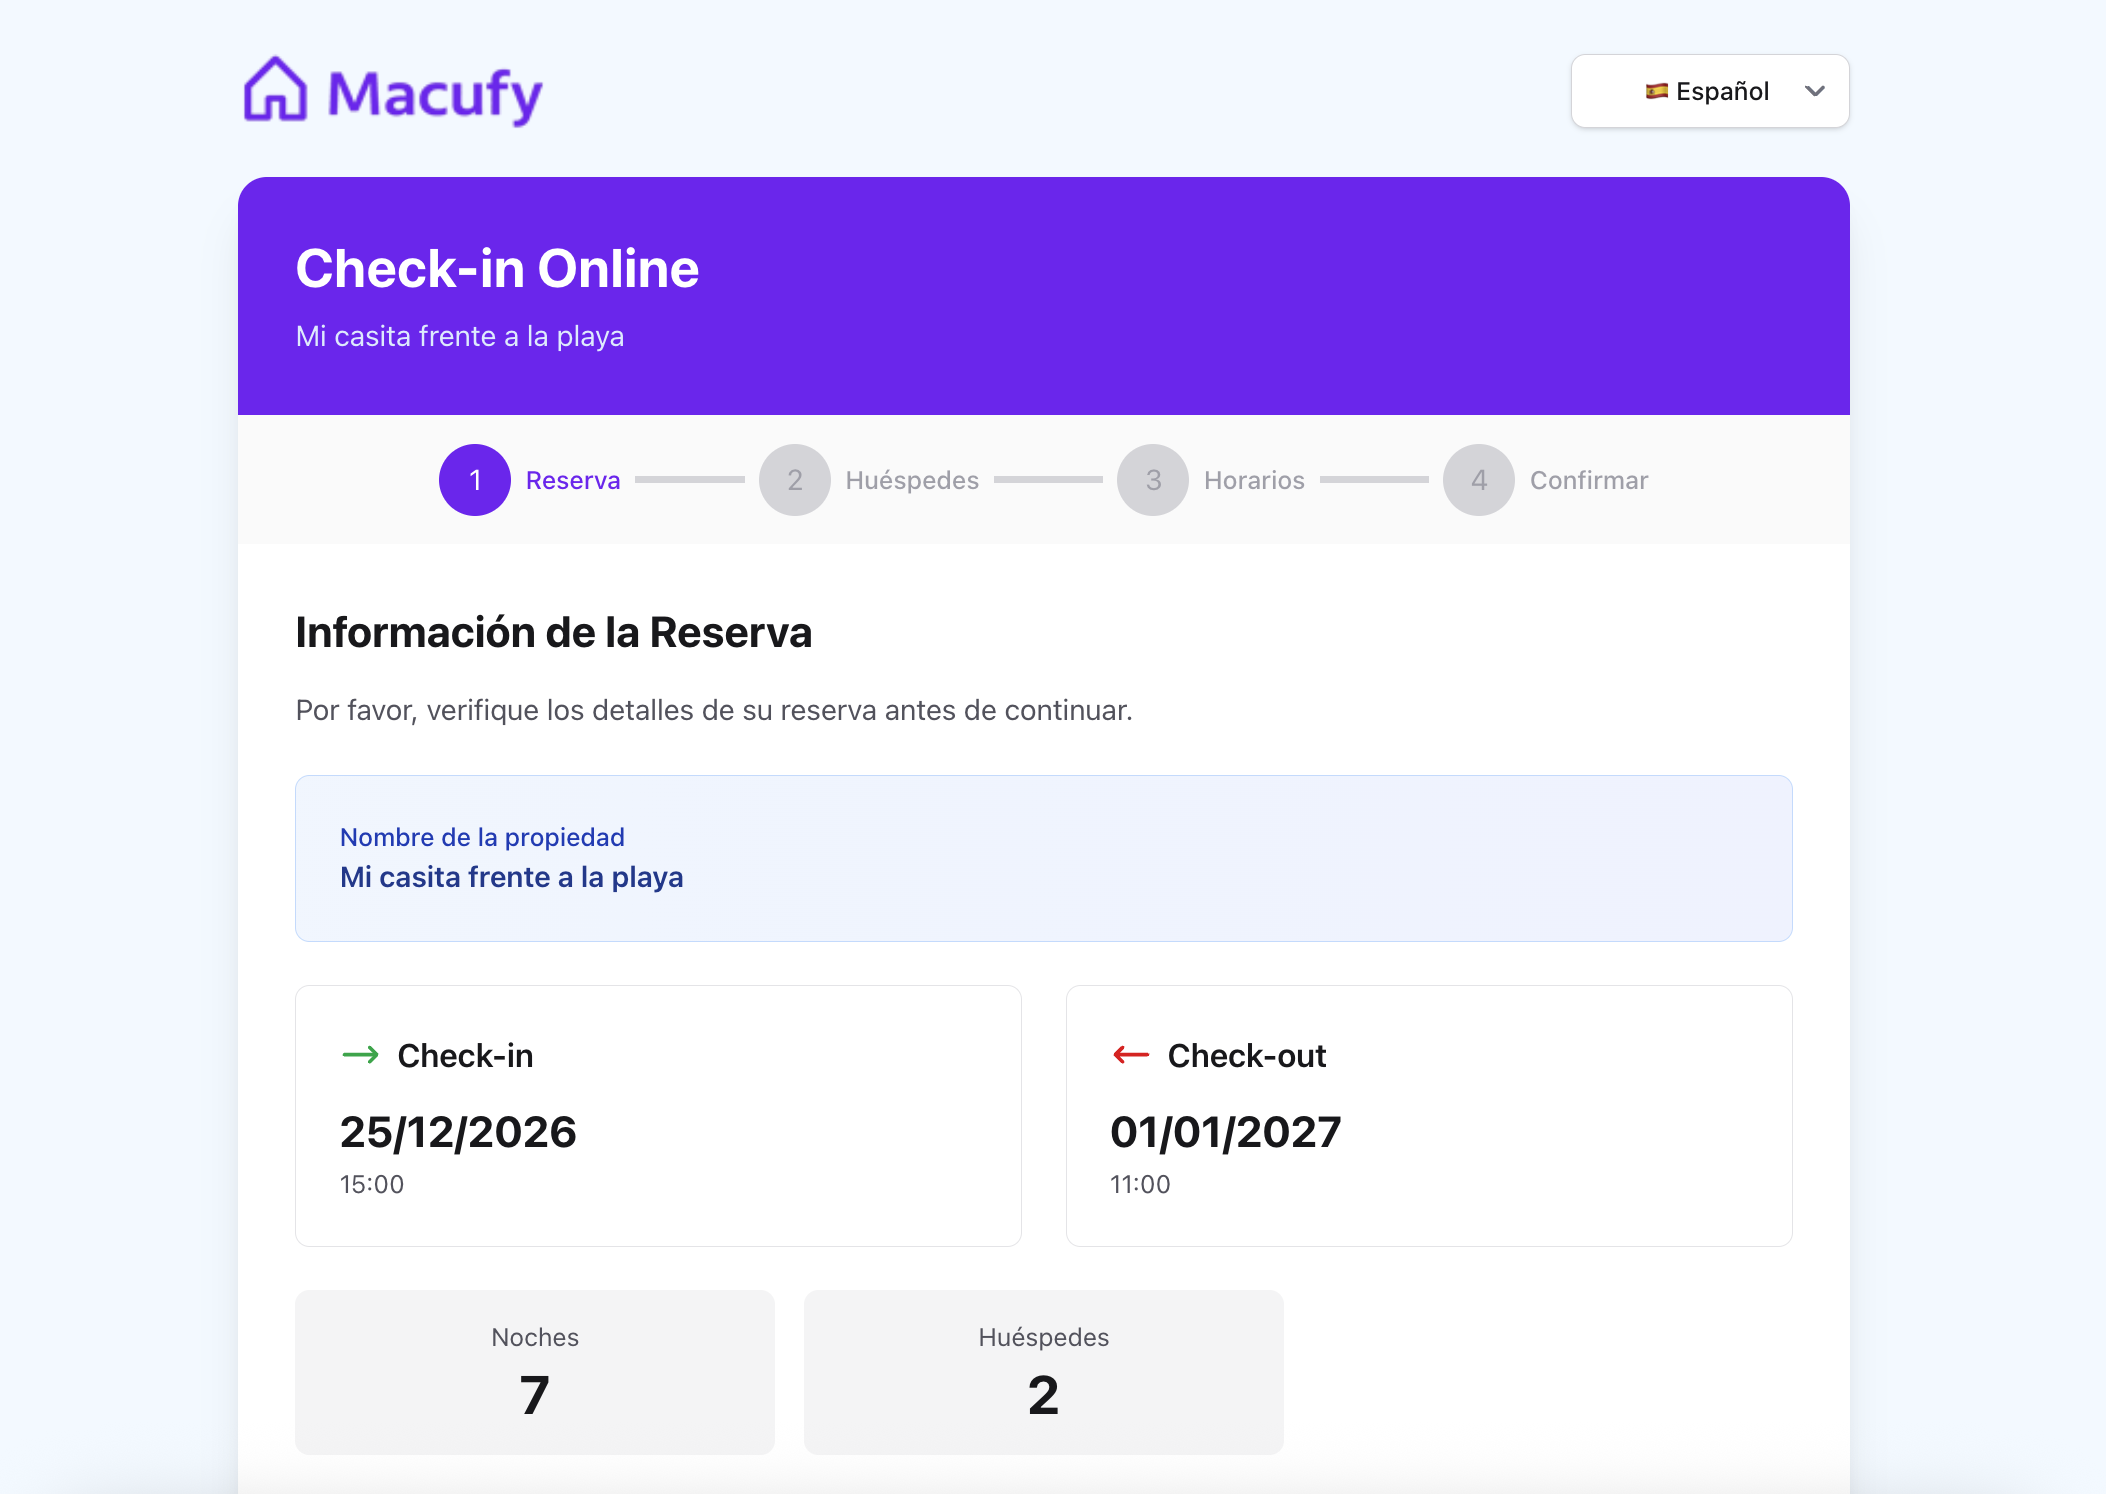
If you manage holiday rentals, you know that guest arrival is one of the most critical moments. A well-configured online check-in system not only saves you time, but also improves the traveller experience and keeps you compliant with legal obligations. In this article we explain all the available options in the check-in configuration panel, what each one is for and how to get the most out of them.
1. Automatic submission of official reports: Travellers and Stays
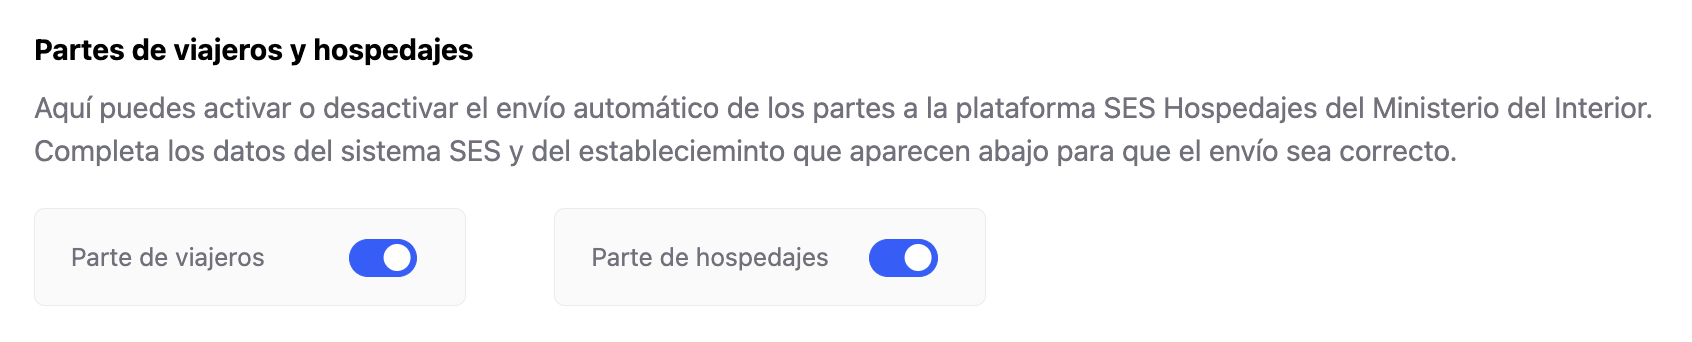
The first option you will find in this section is the ability to enable automatic submission of official reports to the Services Entry System (SES) of the Ministry of the Interior. In Spain, tourist accommodation providers are required to report guest data to the authorities within a maximum of 24 hours from check-in.
Traveller Report
The Traveller Report collects the personal details of each guest: first name, surname, identity document, date of birth, nationality and check-in date. By enabling this toggle, the system will automatically send this information to the SES each time a guest completes the online check-in.
When should you enable it?
Whenever you are legally required to report guest data to the authorities, which is the case for almost all tourist accommodation in Spain.
Important: To enable this option, you must first have your SES credentials configured (username, password and landlord number). If these details are incomplete, the system will not allow activation.
Stay Report
The Stay Report is the complementary document that includes details of the establishment and the booking: check-in and check-out dates, room number, price, etc. It is mandatory for certain types of accommodation.
When should you enable it?
If your accommodation is registered as a tourist establishment with an obligation to submit the stay report, you must enable it. In addition to the SES credentials, you will also need to have the Establishment Details section completed.
You can enable or disable both toggles independently at any time.
2. SES credentials (Services Entry System)
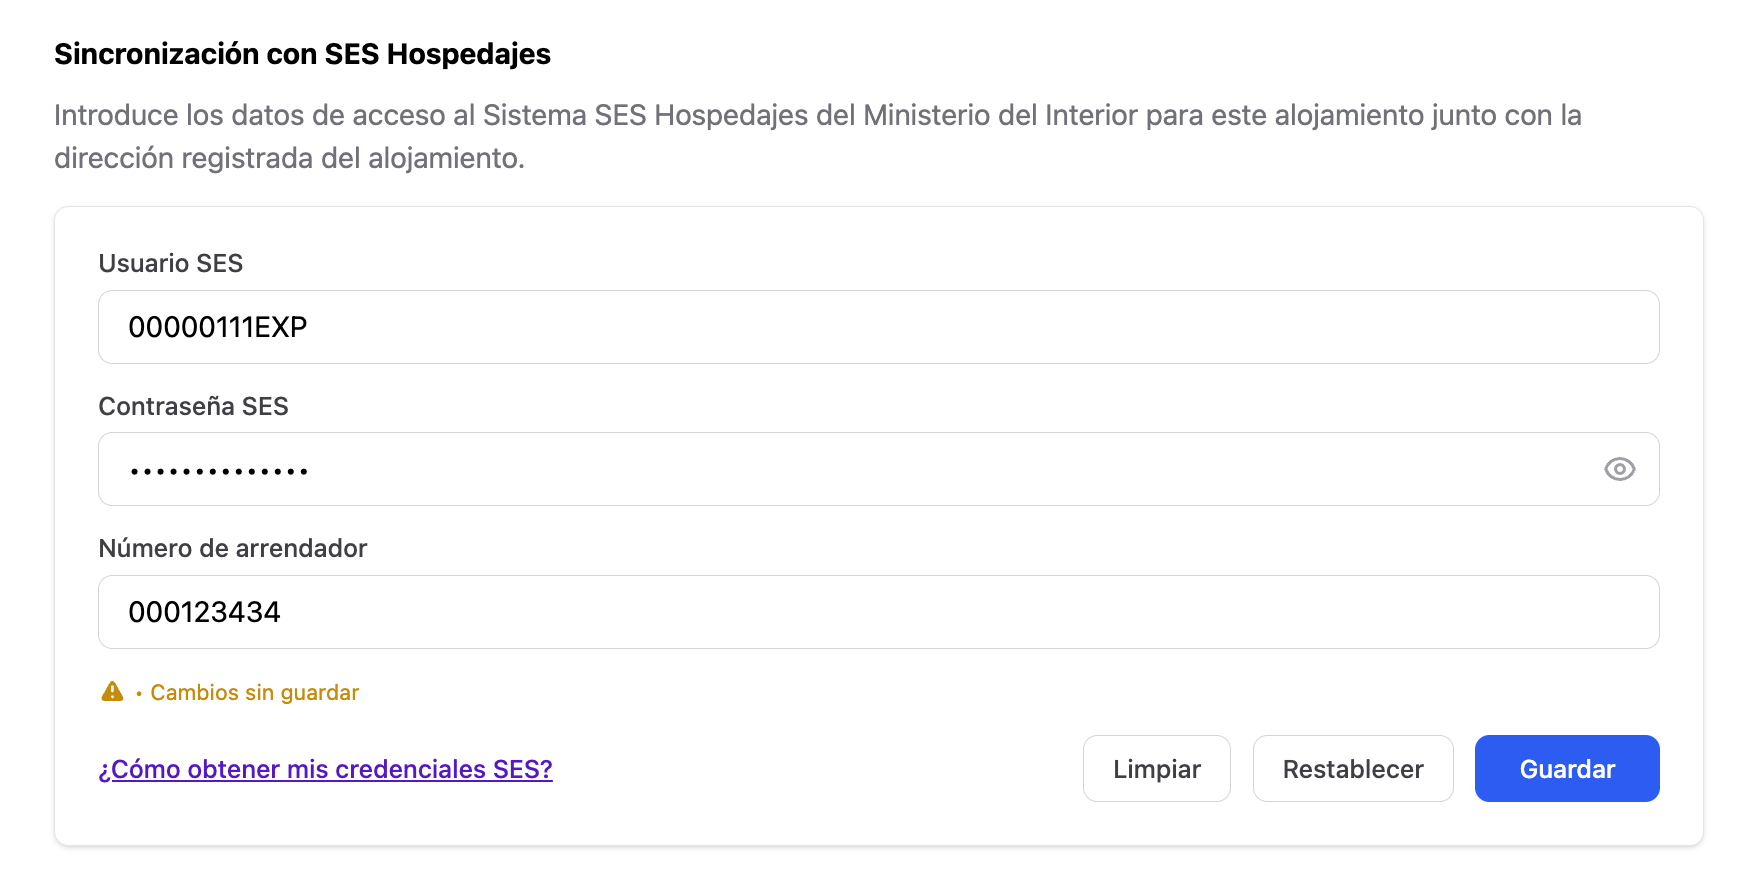
For automatic submission of reports to work, you need to enter your SES credentials. These are provided directly by the General Directorate of the Police when you register your establishment.
SES username
This is the username you use to access the official system. It is usually the NIF/NIE of the establishment owner or a specific user created for the property.
SES password
The password associated with your user account. For security reasons, the field includes a button to show or hide it while typing.
Landlord number
This is the unique code assigned by the police to each establishment when it is registered in the SES. It is different from the username and is essential to identify your accommodation in each submission.
How to configure it?
Enter your SES username in the first field.
Enter your password in the second field (you can use the eye icon to verify it).
Add your landlord number in the third field.
Click Save.
If you do not have these details, check the help link at the bottom of the form. It will guide you step by step on how to obtain them.
3. Establishment details
This section contains the official information about your accommodation, required to correctly complete the Stay Report.

Type of establishment
Select from the drop-down list the option that best describes your accommodation: apartment, rural house, guesthouse, hotel, VUT, VFT, etc. This must match the type registered officially.
Establishment name
The official name under which your accommodation is registered.
Address and additional address details
The full address: street and number. Use the additional field for floor, door or block.
Country and postcode
Select Spain (ESP) to activate the municipality selector. The postcode automatically filters the available municipalities.
Municipality
Select the municipality corresponding to your accommodation. The system displays the name together with its official code for report submission.
Number of rooms
The total number of rooms in the establishment, included in the stay report.
How to save?
Complete all required fields (*) and click Save. The yellow indicator will warn you if there are unsaved changes.
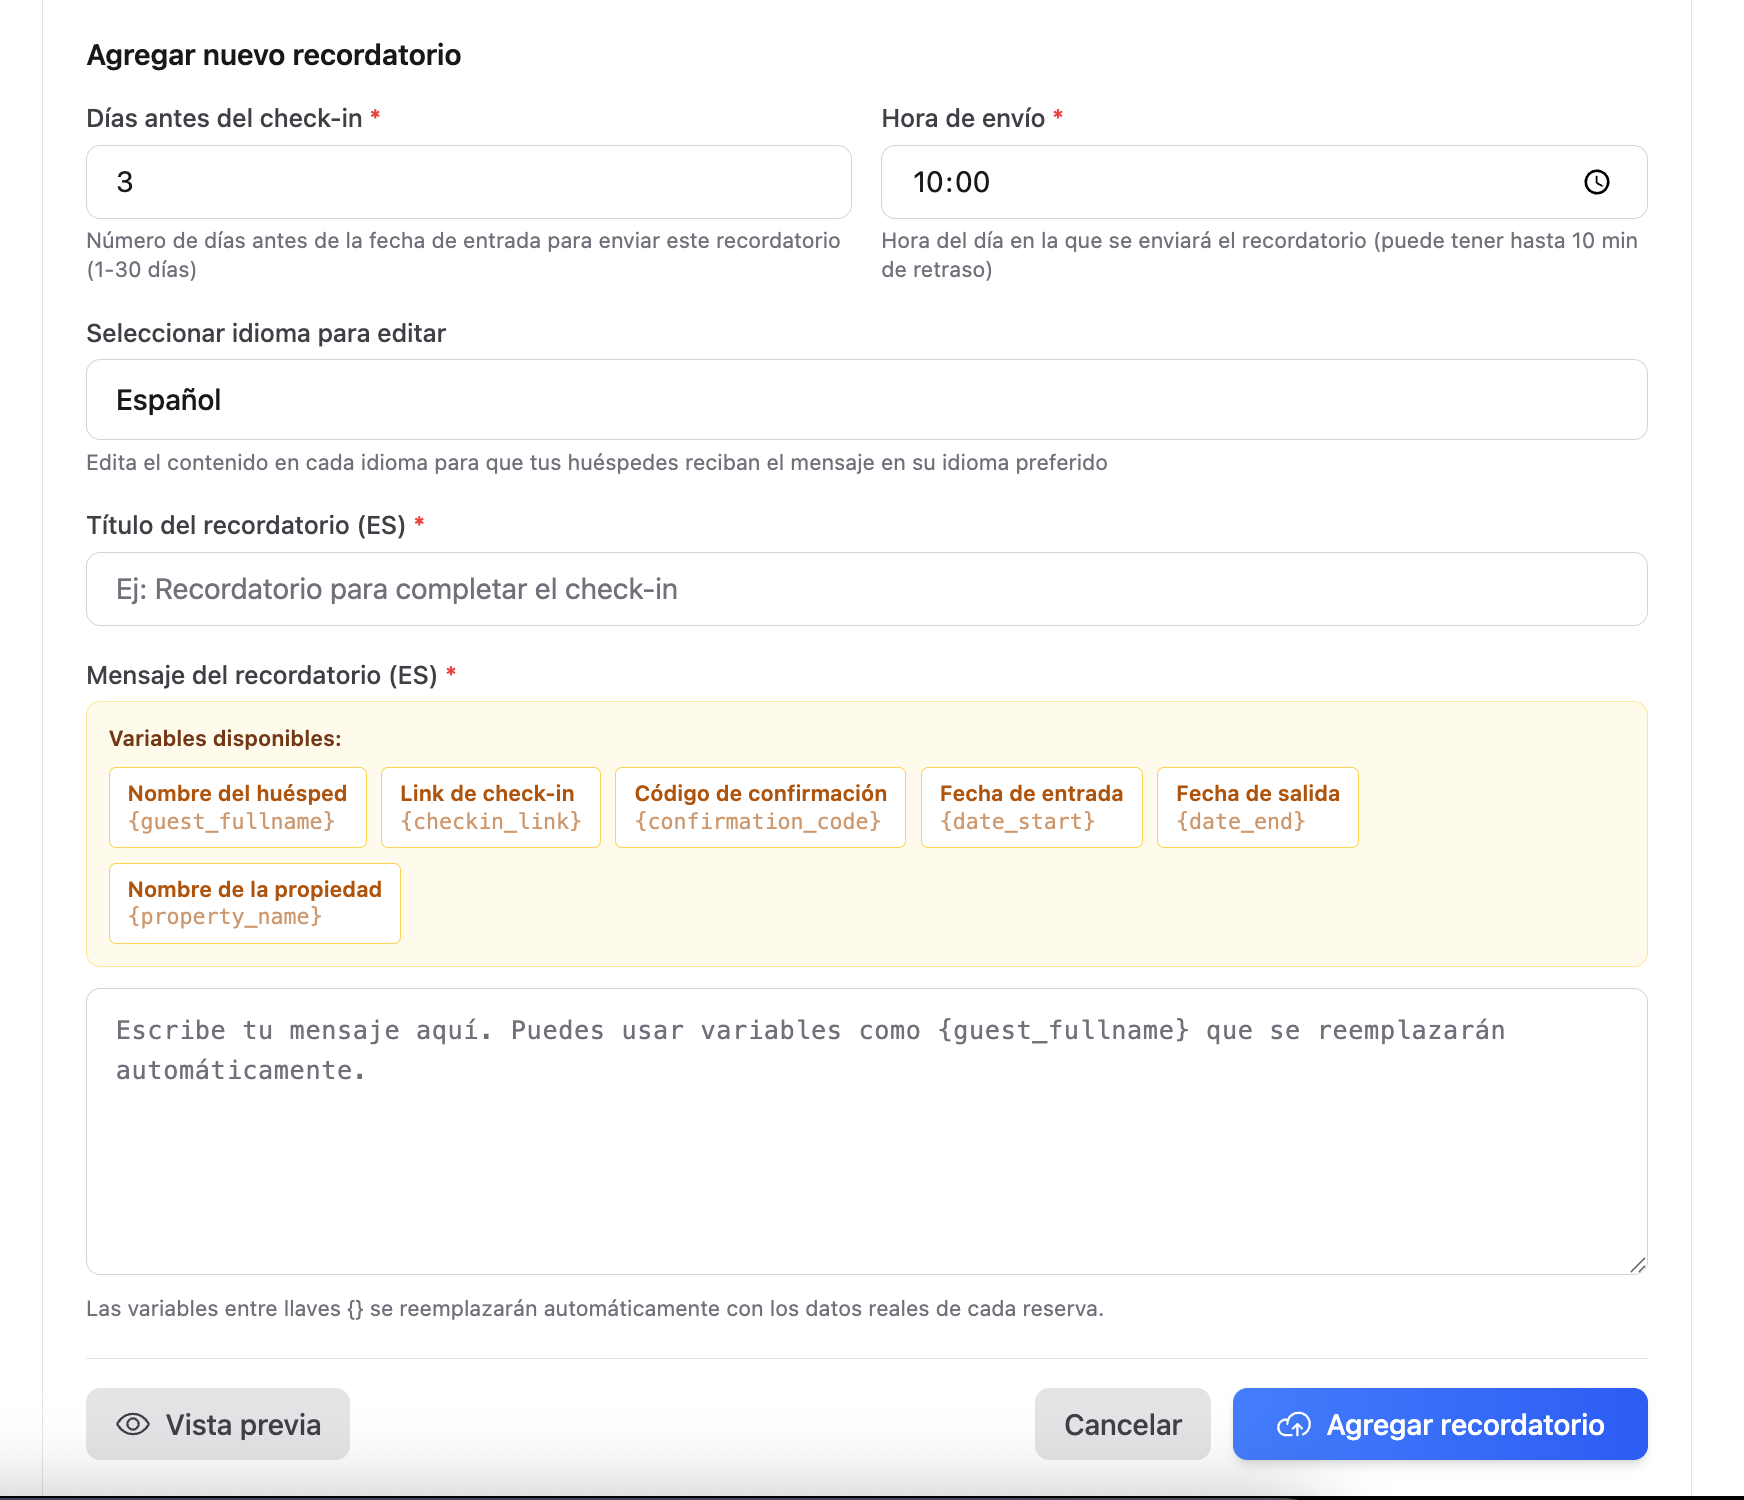
4. Online check-in reminders
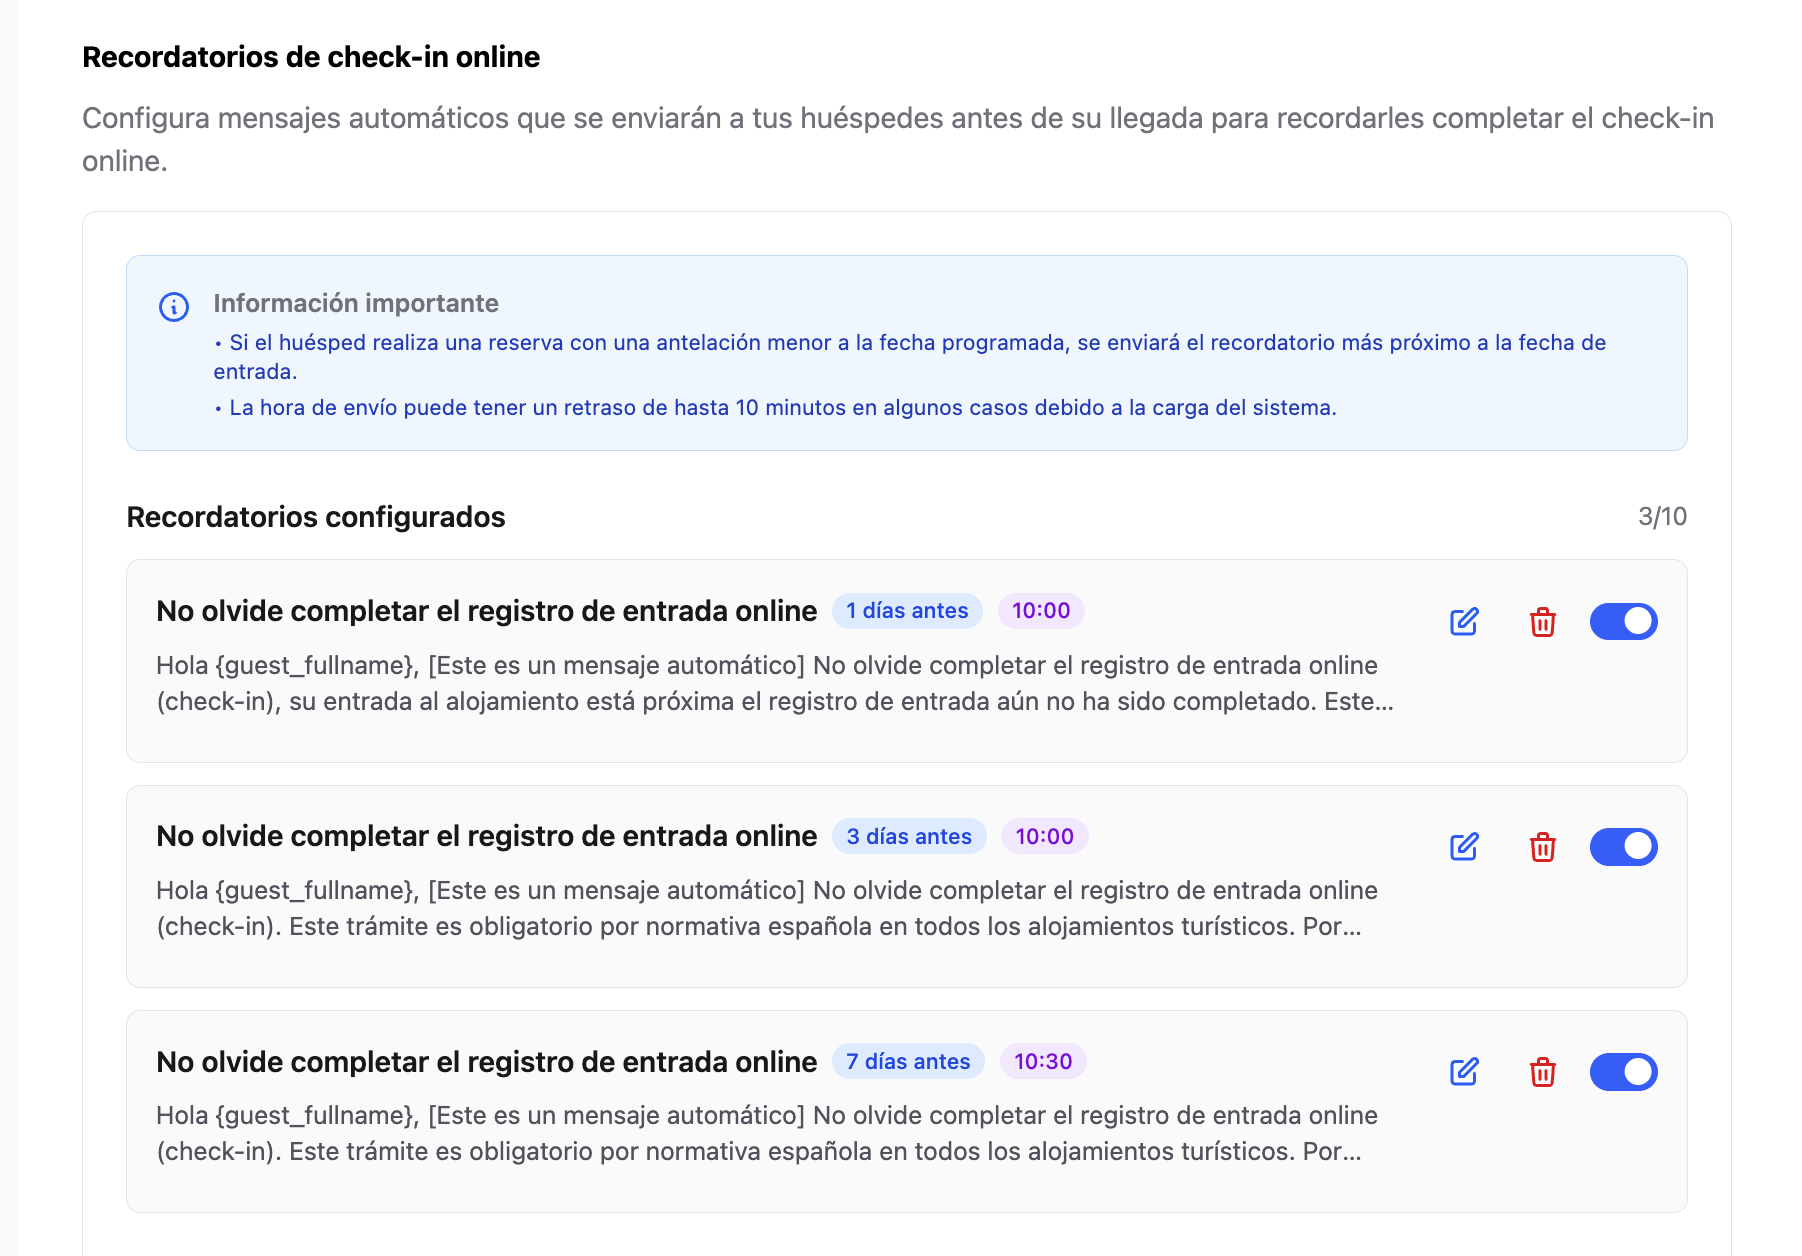
Reminders are automatic messages sent to the guest a set number of days before the check-in date, at a specific time, prompting them to complete the online check-in in advance.
How to add a reminder
Click Add new reminder.
Enter the number of days in advance (1–30 days before check-in).
Select the send time.
Choose the language of the message.
Write the title and message.
Click Save reminder.
Available dynamic variables
| Variable | Replaced with |
|---|---|
{guest_fullname} | Guest full name |
{checkin_link} | Personalised online check-in link |
{confirmation_code} | Booking confirmation code |
{date_start} | Check-in date |
{date_end} | Check-out date |
{property_name} | Property name |
Messages in multiple languages
Write the same reminder in all configured languages. The system will automatically select the guest’s language.
Enable, edit, delete and copy reminders
Enable/disable: each reminder has a toggle to pause it without deleting it.
Edit: click the pencil icon to modify an existing reminder.
Delete: click the bin icon and confirm to permanently remove it.
Copy to other properties: you can copy all reminders to all your properties or to a specific one, automatically avoiding duplicates.
Free plan: up to 1 reminder per property.
PRO plan: up to 10 reminders per property.
5. Post check-in message
Allows you to automatically send a welcome message once the online check-in has been completed, based on the configured time before arrival.
Normally, accommodation providers do not send entry instructions until 24 or 48 hours before arrival, but if you wish to send this message immediately after online check-in, you can set it to, for example, 400 days in advance.
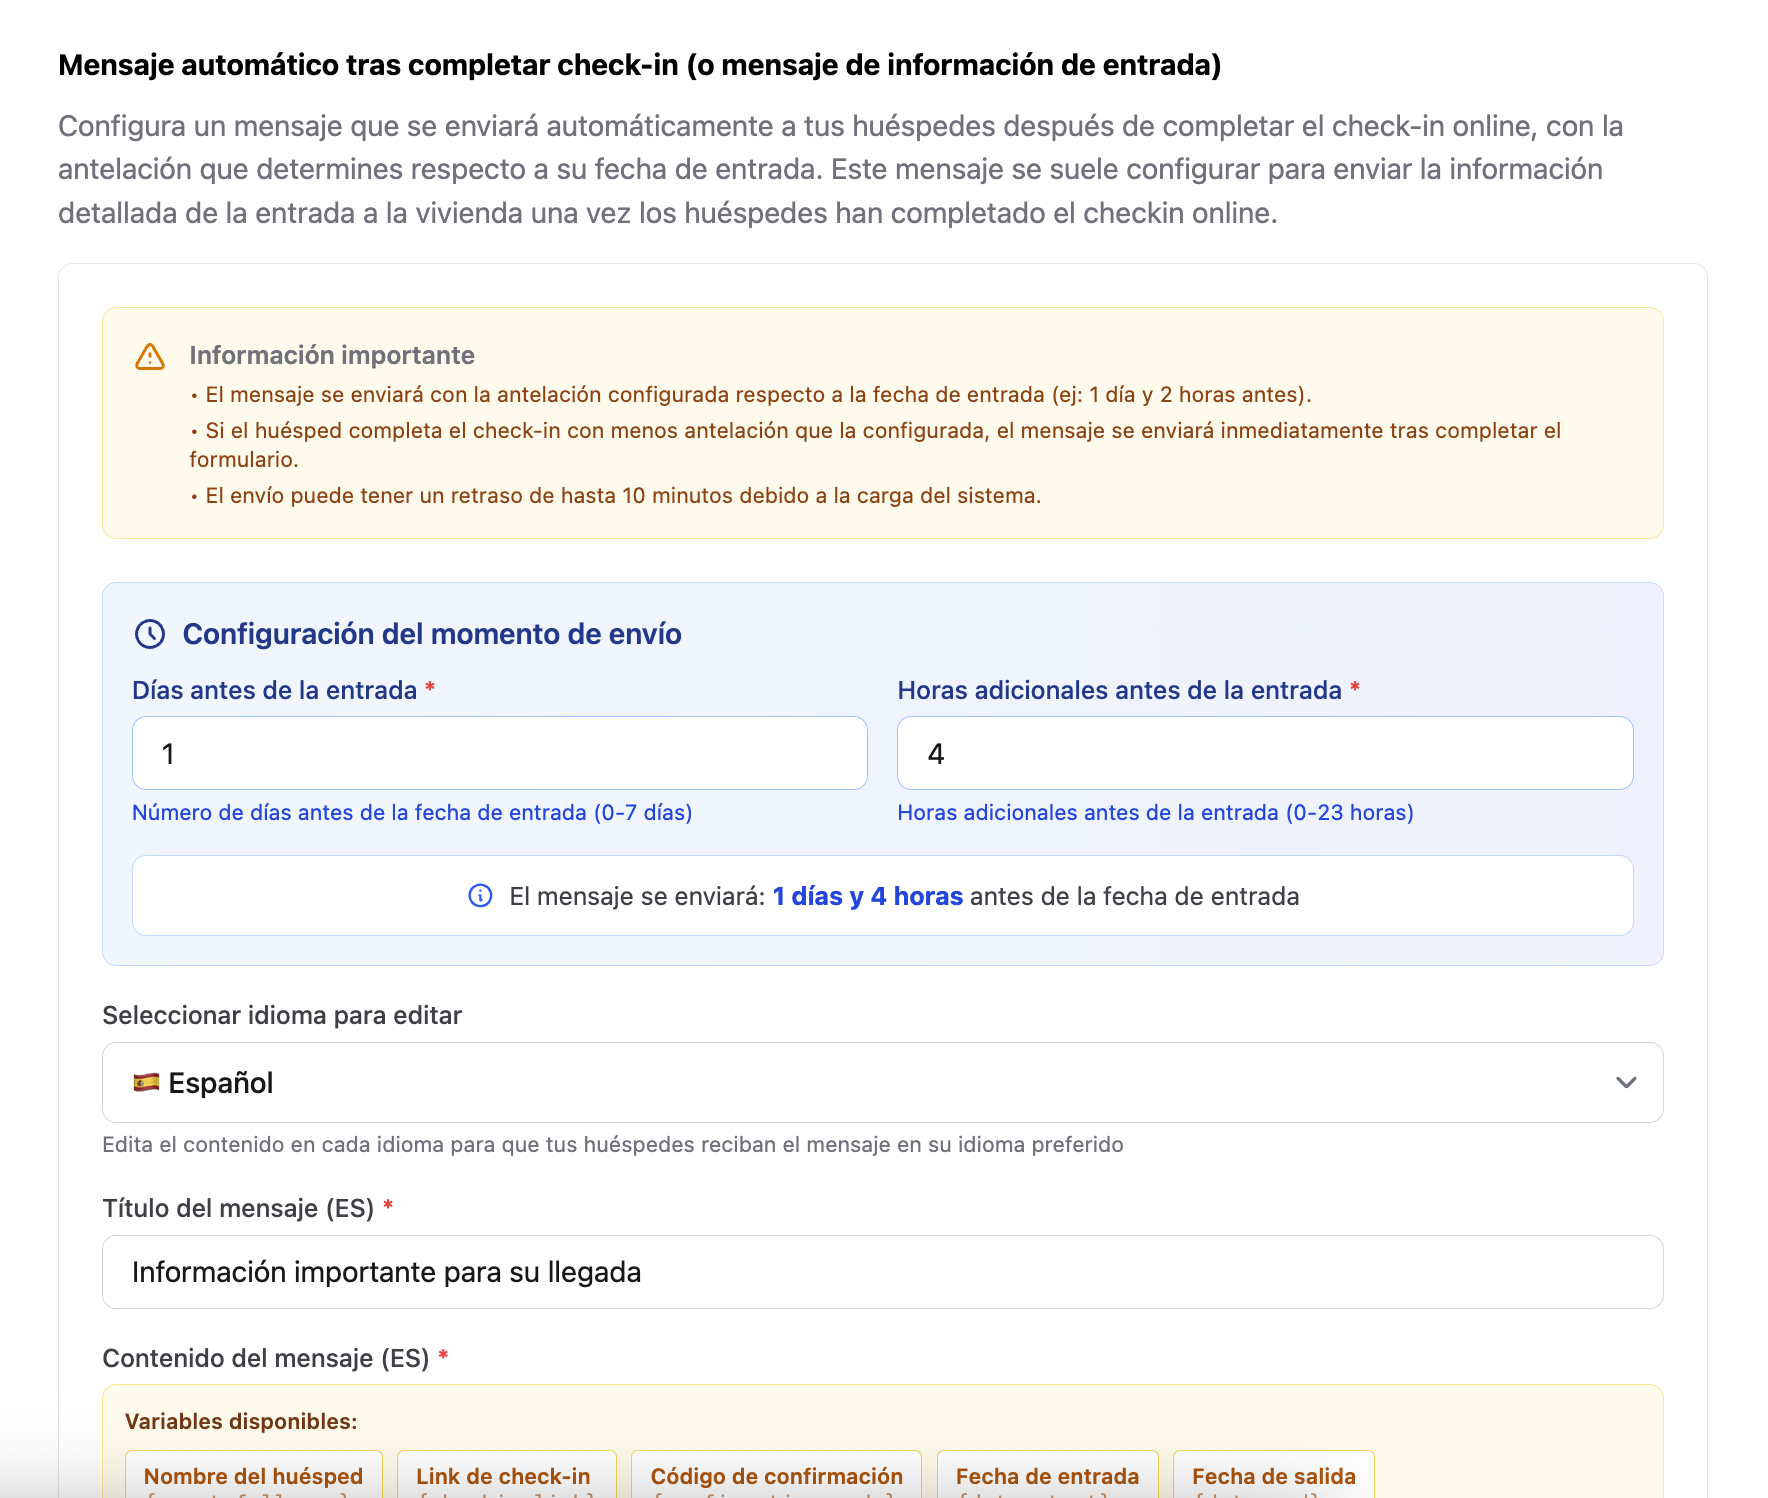
If the guest completes online check-in with less notice than the configured send time, or after the check-in date (for example, at the property door), the message will be sent instantly so they can access immediately if it contains entry codes.
6. Allow guests to choose their room during online check-in
If your accommodation has multiple rooms or separate units, you can allow guests to select the room they will occupy during the online check-in process.
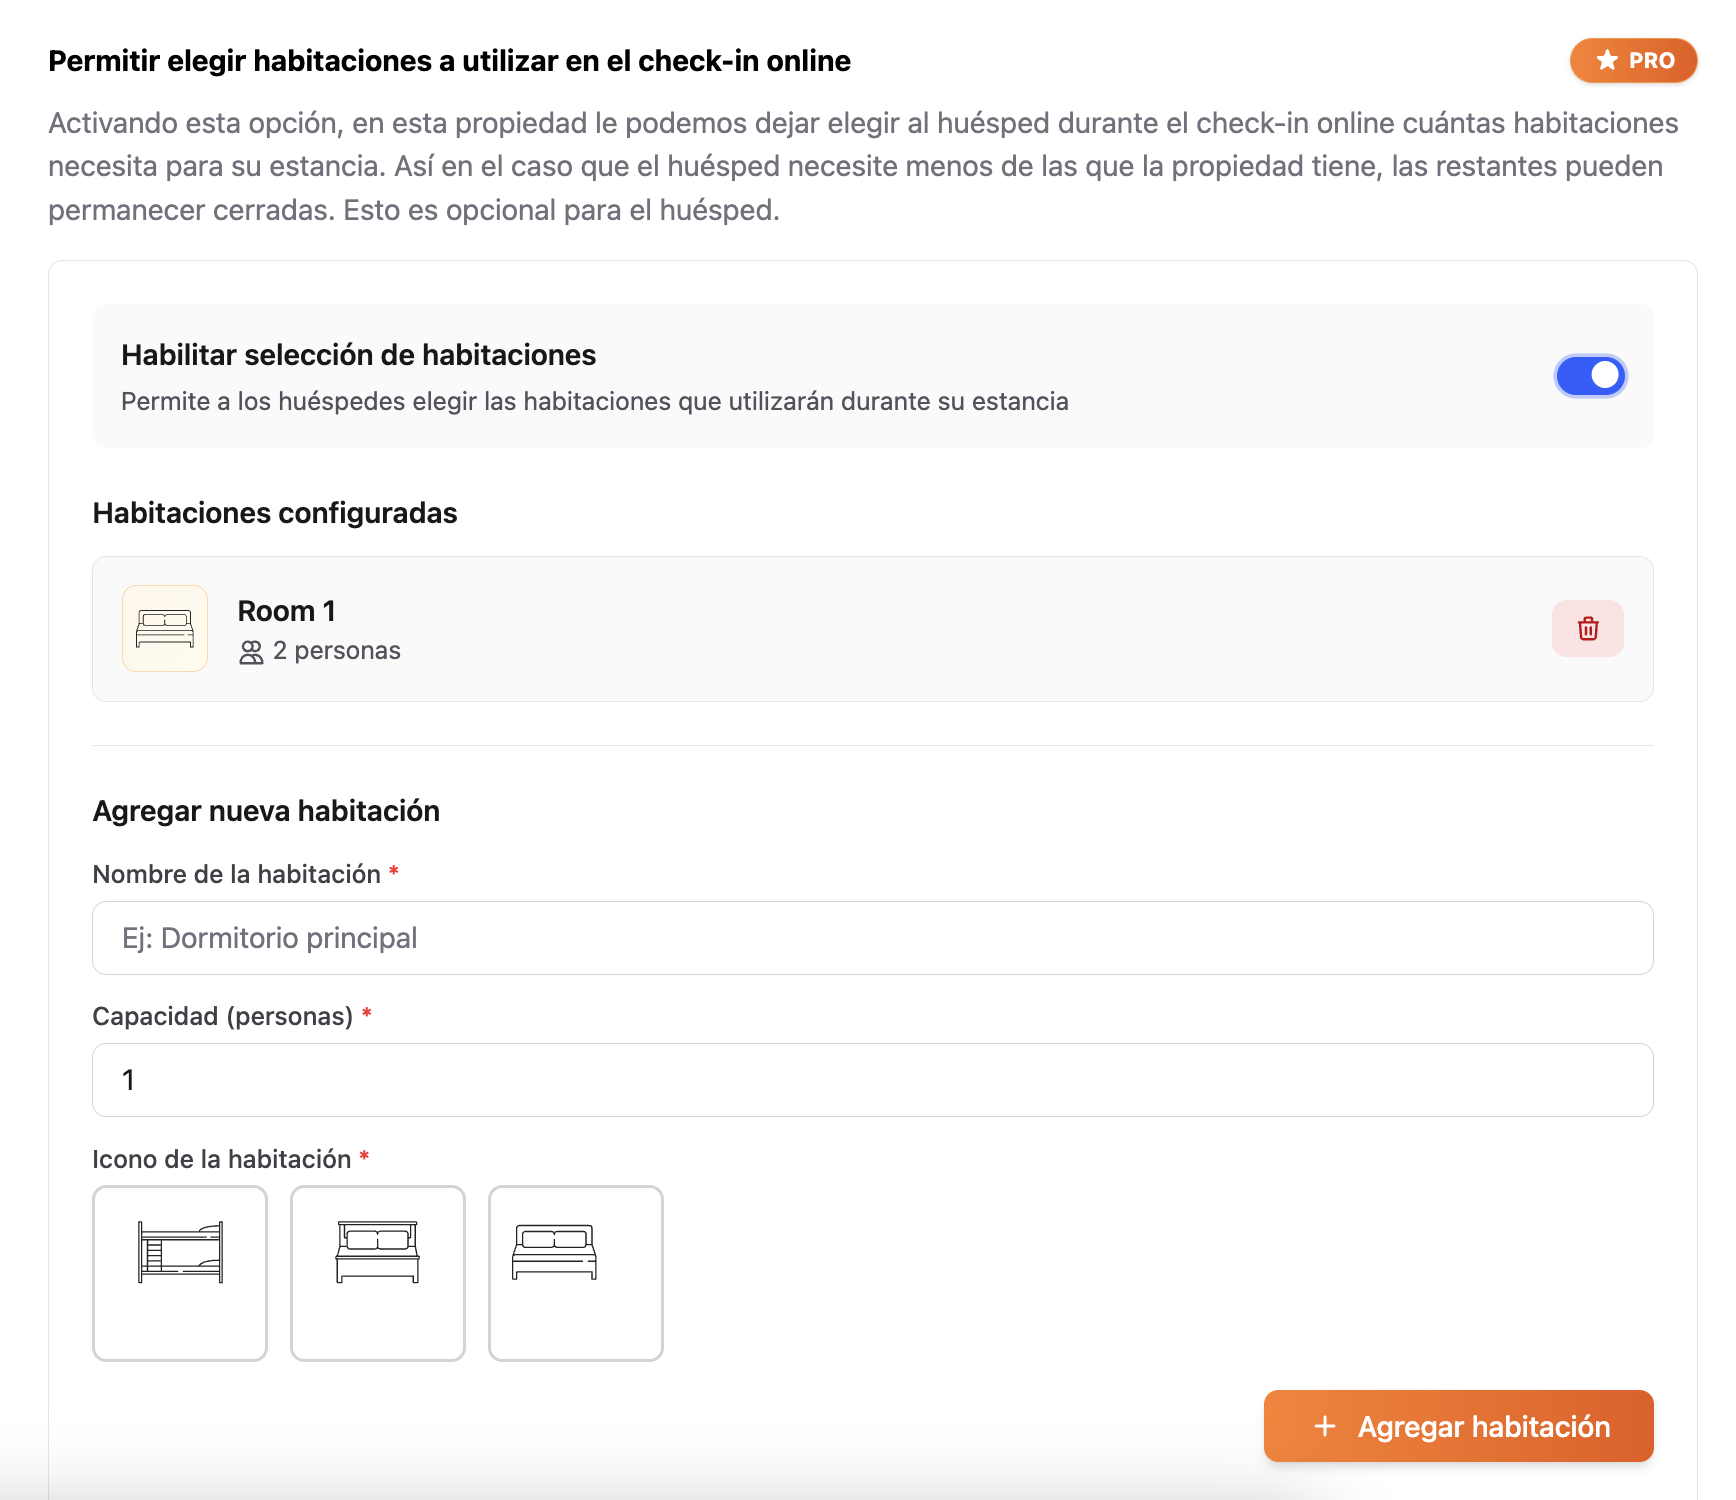
What is it for?
Primarily for hostels, guesthouses or apartments with multiple independent units where guests have a preference or pre-assigned room.
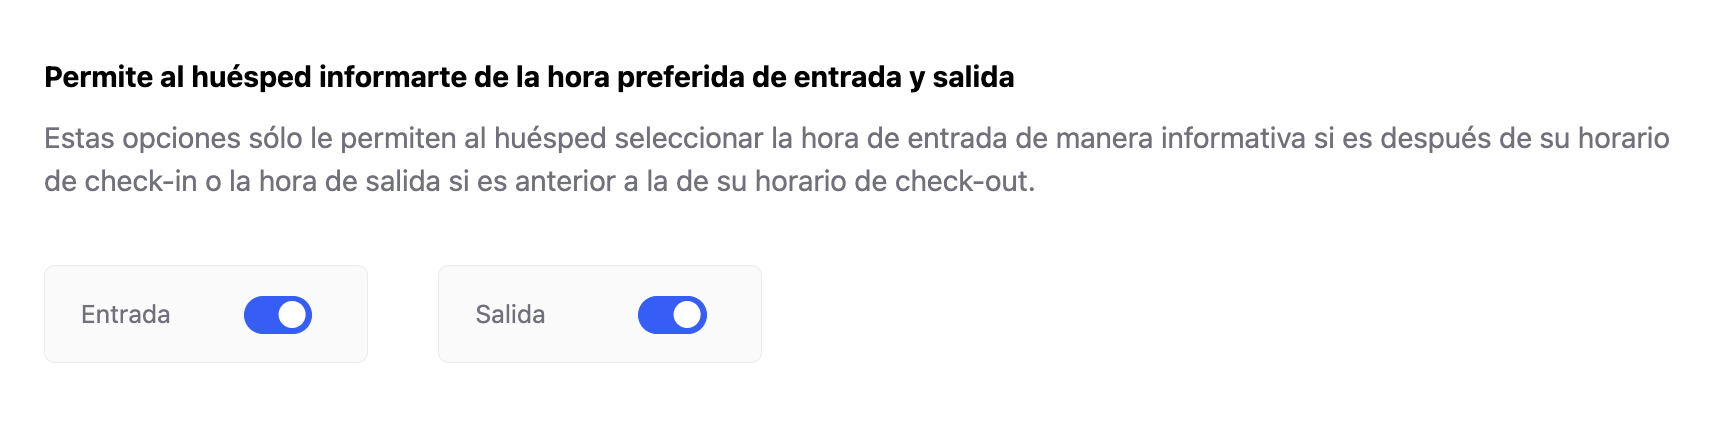
7. Allow guests to indicate preferred check-in and check-out times
With this option enabled, during online check-in guests can indicate their expected arrival and departure times.
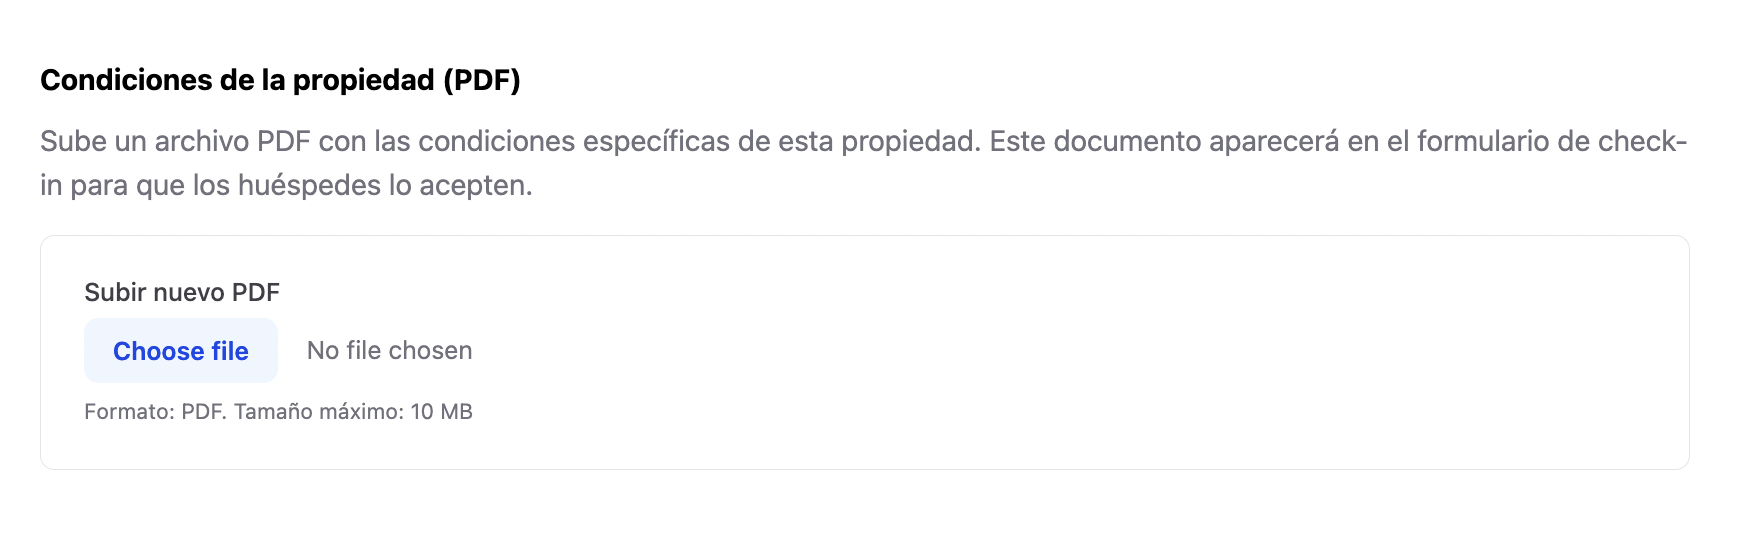
8. Property conditions (PDF)
This option allows you to attach a PDF containing the property rules and conditions, which the guest must read and accept before completing check-in.
9. Custom logo for online check-in
Allows you to customise the form with your logo for a more professional appearance.
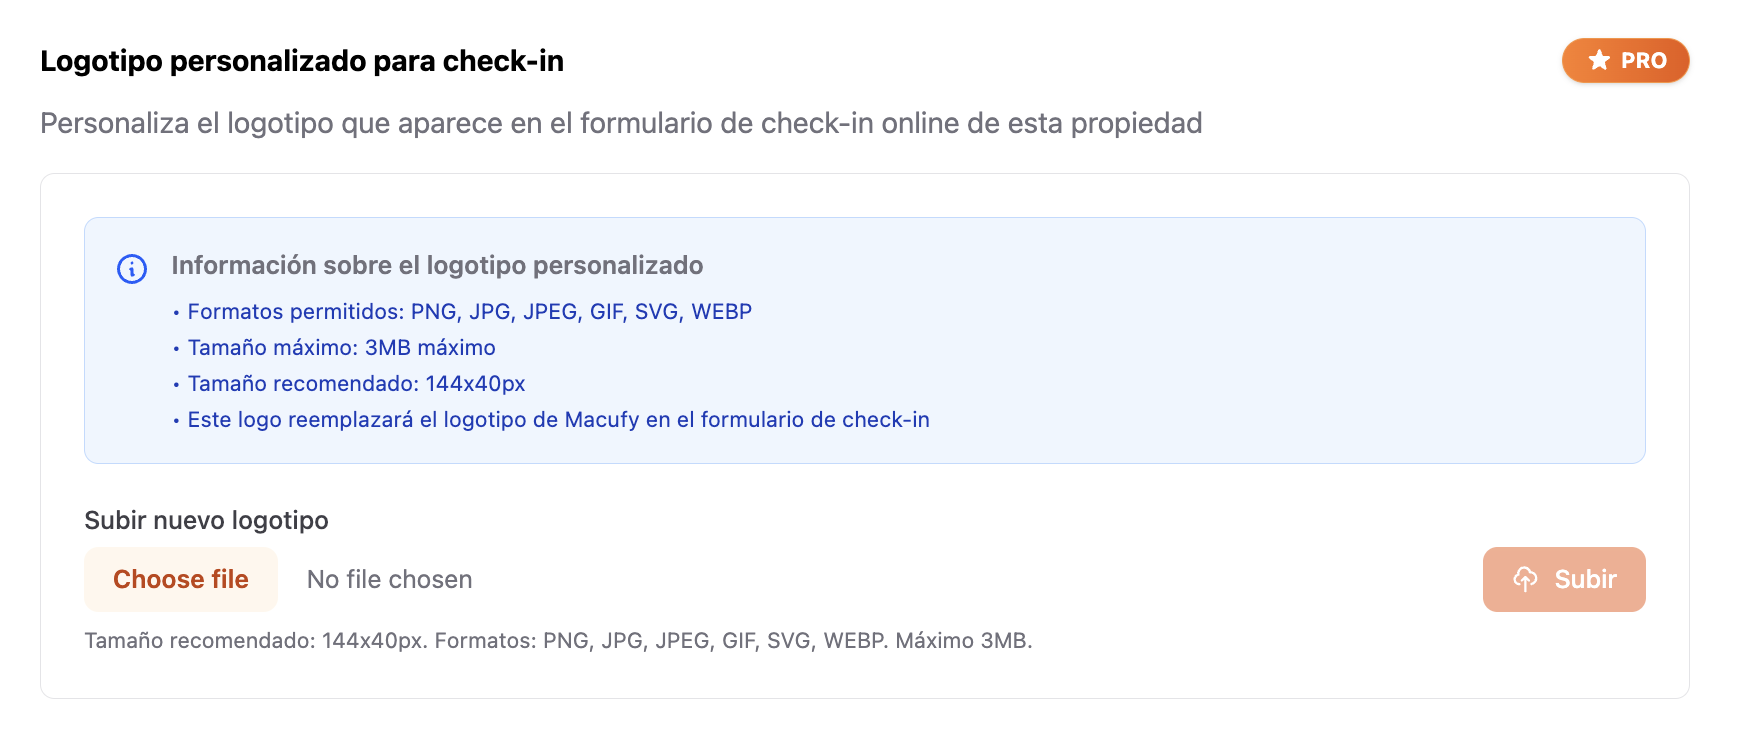
Feature exclusive to the PRO plan.
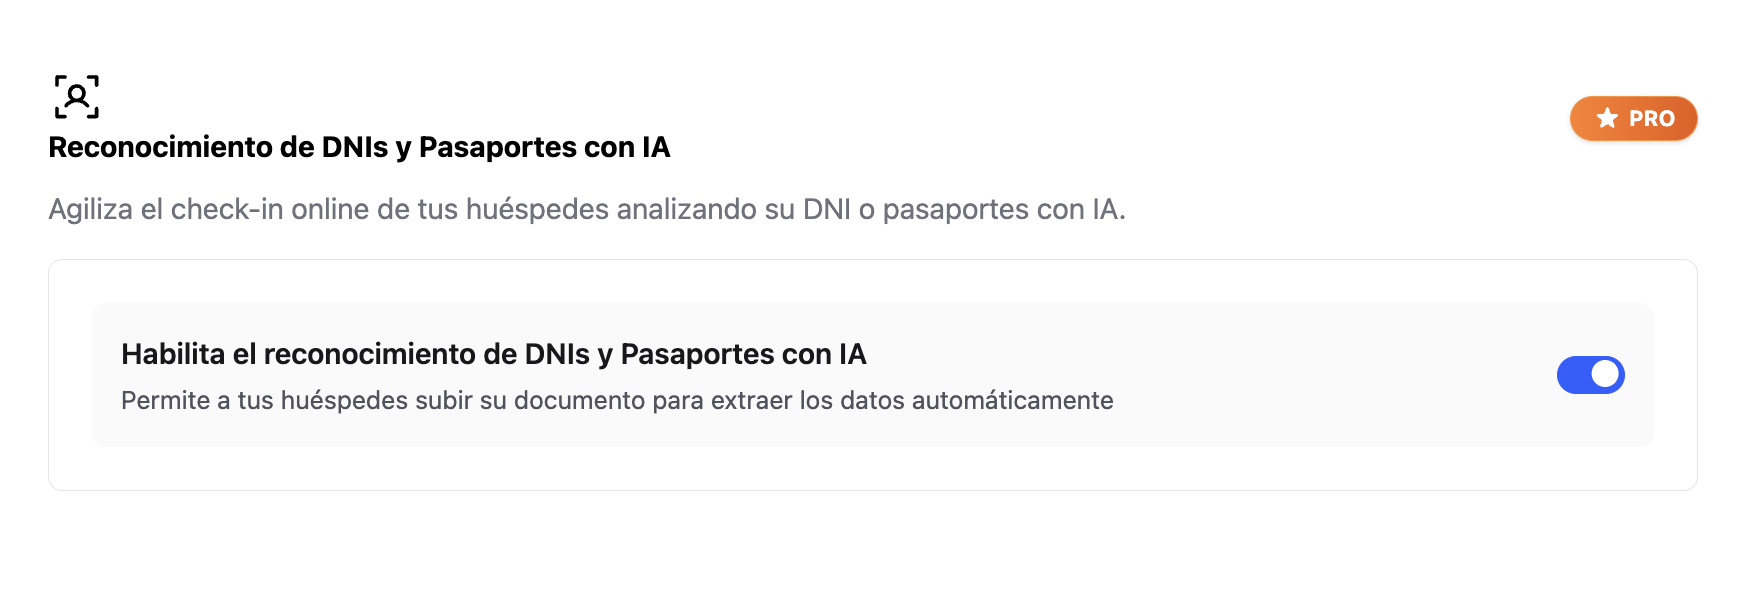
10. AI-powered ID and passport recognition
The most advanced feature: guests can photograph their document and the AI automatically extracts the data.
Summary: full configuration checklist
SES credentials entered
Traveller Report enabled
Stay Report enabled with complete details
Reminders configured
Post check-in message configured
Conditions PDF uploaded
Custom logo (PRO)
AI document recognition (PRO)
Room selection configured
Preferred arrival/departure time enabled